Google Ads Conversion Tracking
Conversion Tracking is essential to measure the effectiveness of your campaigns and to decide on the areas where you can further optimise.
Quick Navigation
Where do we find the conversions tracking menu?
![]()
Click ‘TOOLS & SETTINGS’, ‘MEASUREMENT’ then ‘Conversions’.
Click on the plus sign…
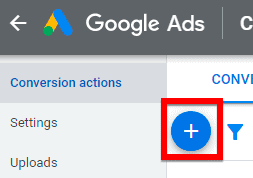
and we will be presented with the various ways to track your conversions.
![]()
Select website if you want to track actions on your website.
Then select the action that you would like to track.
![]()
In this example, we will select…
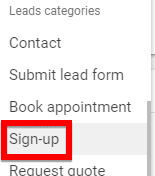
‘Sign-up’ under ‘Leads categories’.
When it comes to value, it depends on your objectives.
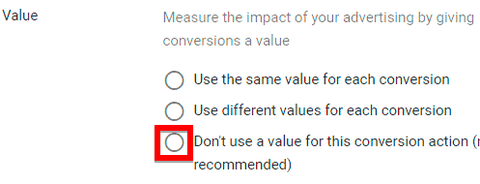
I would select ‘Don’t use a value for this conversion action’ because my goal is only lead generation.
For ‘Count’, I will choose ‘One’, because my goal was Leads during campaign set-up.
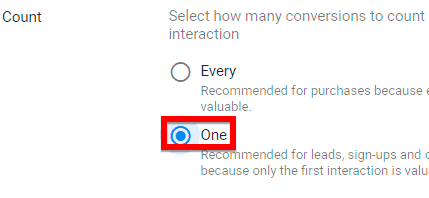
If you are running an e-commerce website, you should choose ‘Every’ because a visitor can make multiple purchases and every purchase will count.
Click-through conversion window should be left as default which is 30 days.

View-through conversion window can be left at 1 day.

Include in ‘Conversions’: choose ‘Yes’. ‘Attribution model’ should be ‘Last click’. Then click ‘CREATE AND CONTINUE’.
1. Installing the Tag Yourself
Select ‘Install the tag yourself’.
![]()
In this tutorial, we will choose the code for HTML.
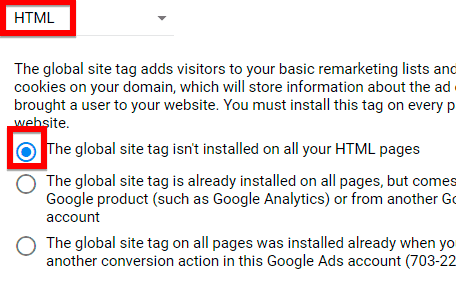
And assuming the global site tag is not installed on your HTML pages, we select the first option.
We proceed to install the global site tag.
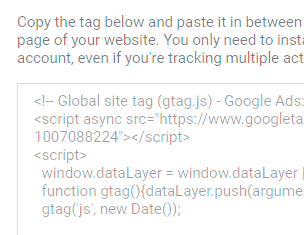
Copy the snippet of code and paste it in between the <head></head> tags of every page of your website. You only need to install the global site tag once per account, even if you're tracking multiple actions.
Next is the event snippet that works with the global site tag to track actions that should be counted as conversions.
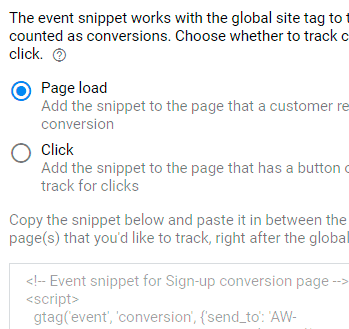
And to track conversion on a page load, choose the first option. Copy the event snippet and paste it in between the <head></head> tags of the page(s) that we want to track, right after the global site tag. This would typically be installed in the Thank You Page i.e., the page that visitors would be redirected to after they submit their details (e.g., after providing name, email, and phone).
2. Use Google Tag Manager

A better option is to use Google Tag Manager (GTM) which is a tag management system that allows quick and easy updating of multiple tags and code snippets on your website. By using GTM, you can add and update code from within the GTM interface without having to directly edit your website. It helps to save time by not needing to hire a developer when you need to configure tags or do simple coding.
Note: You need to have a GTM account and the container snippet installed in your website before proceeding with this option.
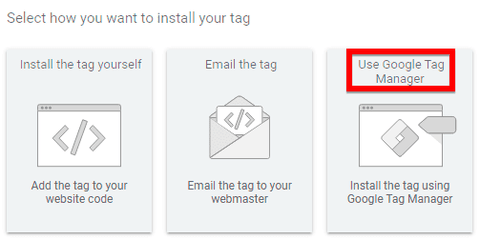
Select “Use Google Tag Manager".
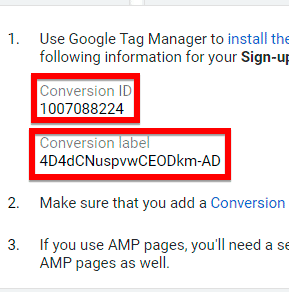
You will be provided with the Conversion ID and Conversion label.
Head over to Google Tag Manager (https://tagmanager.google.com).
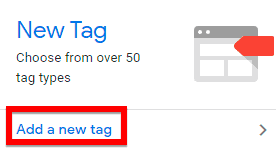
Click “Add a new tag”.
Click on “Tag Configuration”.
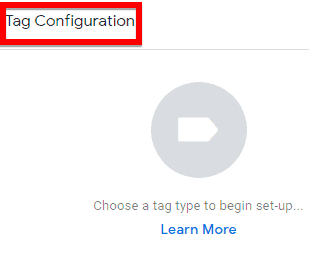
You will be made to choose your tag type.
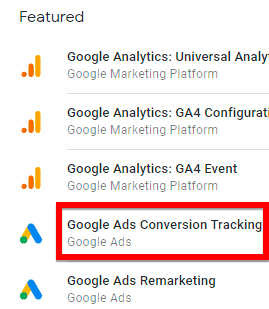
Click “Google Ads Conversion Tracking”.
Head back to your Google Ads interface (ads.google.com) to copy the Conversion ID and Conversion Label.
![]()
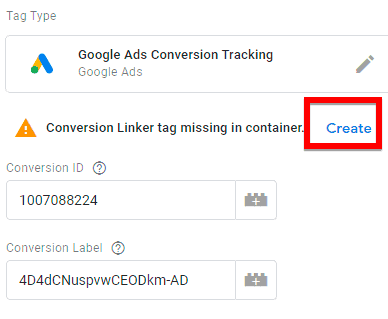
Then paste them inside their respective fields in Google Tag Manager.
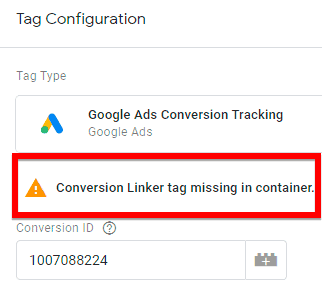
You will see the “Conversion Linker tag missing in container.”. This tag is needed to properly attribute conversion to ad clicks so that when a visitor lands on your landing page, the conversion linker tag will set a cookie that will later be used in the conversion tracking.
Click “Create”…
And name your tag i.e. Conversion Linker. In this example, you don’t have to check any Linker Options.
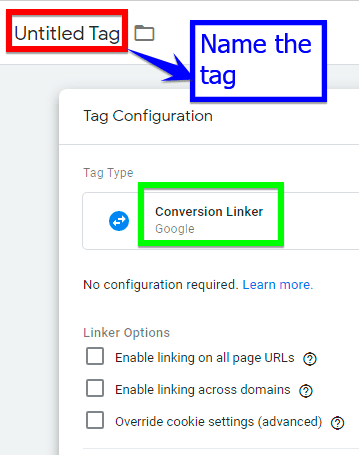
Then click “Save”.
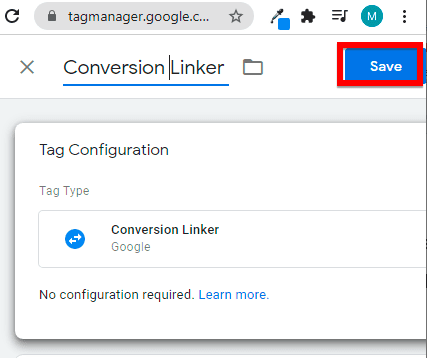
You need a trigger to make this tag fire.
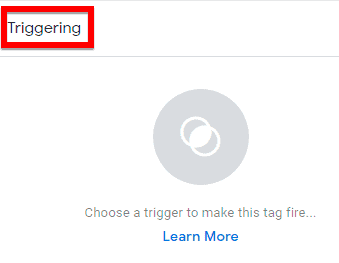
Click “Triggering”.
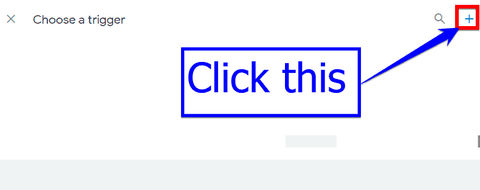
Click on the “+” to choose a trigger.
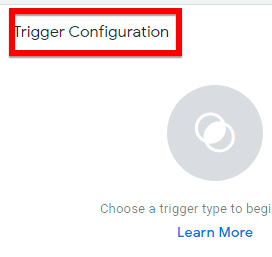
Click “Trigger Configuration”.
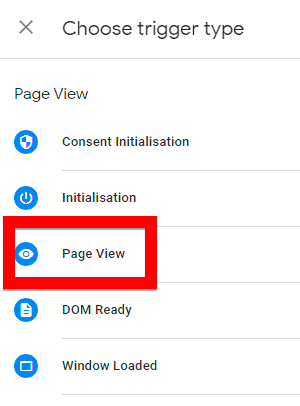
Click “Page View”.
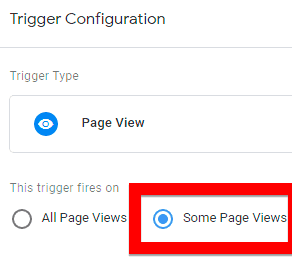
Under Trigger Configuration,
Select “Some Page Views”.
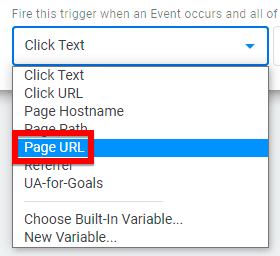
Then select “Page URL”.
![]()
Then select “contains” and enter a part of your Thank You Page URL that is unique from other pages.
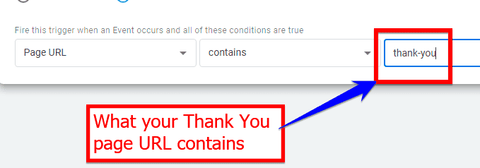
Name it so that you know what this trigger is about at one glance.
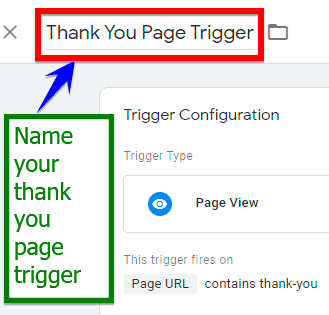
This is a typical setup where visitors would be redirected to your Thank You Page after they submit their details (e.g., after providing name, email, and phone).
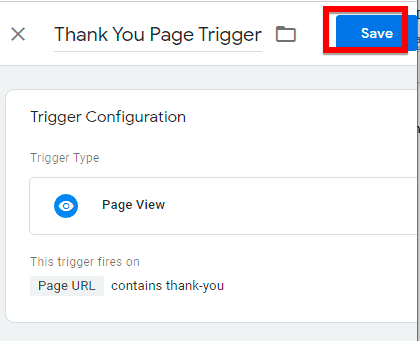
Next, you need to save your Thank You Page trigger.
After the “Preview” is working as expected, you can click “Submit”.
Enter your version name (i.e., a descriptive name that makes it easy for you to recall) and click “Publish”.
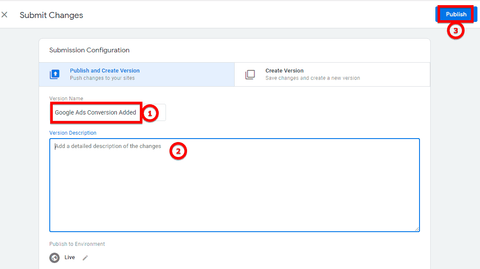

You will see this meaning the set up is complete.
3. Import Data from Google Analytics
To avoid all these hassles, you can link your Google Analytics to your Google Ads account.
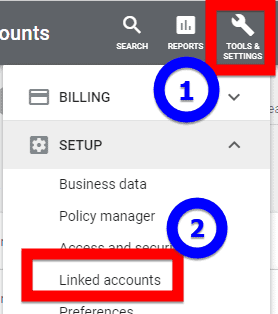
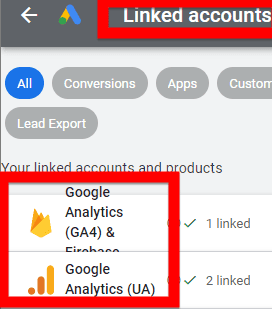
Make sure your Google Analytics account is already linked to Google Ads.
Then import data from your properties and measure the same conversions that you configured in Google Analytics.
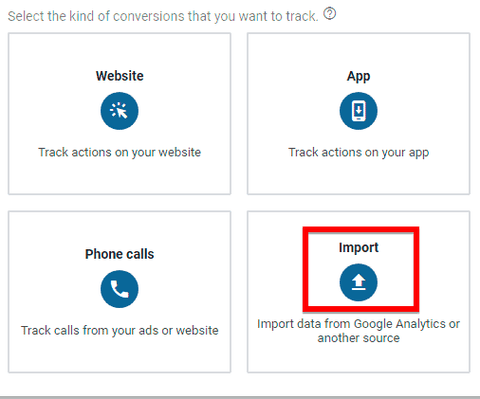
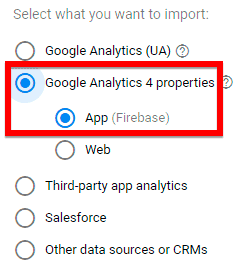
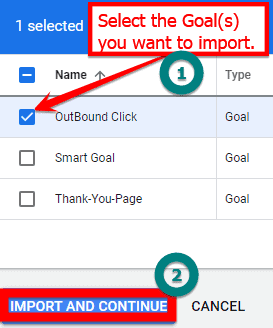
You can select one or more goals to import. This is applicable if you have configured your goals in Google Analytics. It is recommended to learn more about Google Analytics before using this option.
In summary, conversion tracking allows advertisers a deeper insight into their ads performance and allow them to make decisions based on data such as what are the high converting keywords and ads. These will in turn allow advertisers to optimise campaigns for better performance.
4. Frequently Asked Questions
What number would be considered significant to decide to either optimise or pause a campaign?
If your campaign comprises of multiple ad groups, I will look at ad groups first and not be so eager to pause the entire campaign. You need to look at ad group performance to decide whether that ad group should run or not.
I will accrue at least 50 clicks per ad group, assuming the ad groups are reasonably ‘tight’, otherwise I would wait till 100 clicks before pausing that Ad Group. If we are running a lead campaign, and not getting any conversions after a hundred clicks, we might want to look at the click-through rate and Quality Score as hints on whether the landing page is weak, or whether you have a product-market fit problem, or your offer is weak, or you have a targeting issue, or any of these combinations.
It’s not always necessarily a targeting issue, you could be facing a product-market fit problem. Without understanding the problem, and you start pausing every campaign, then what do you do next?
It's therefore important to troubleshoot both the traffic and conversion. So, if you need to optimise landing pages, there are free and paid tools to use including video recording and Google Analytics that can provide actionable insights. It is therefore important to learn and master analytics because it helps you uncover problems that otherwise cannot be seen.
What is Google Tag Manager and why is it better than manually inserting codes on your website?
It is a Tag Management System that replaces multiple tags with a single Container Tag and then fire the individual tags as appropriate based on the different criteria. The idea is to have a single place to store all your tags neatly. In other words, Google Tag Manager (GTM) is a convenient way to replace all other manually-coded tags on your website or landing page.
As an analogy, think of the GTM container as an office filing cabinet that contains various files (the various scripts) and you need to logically organise them. In the real world, marketers would have various individual scripts for Google Ads, Facebook pixels, live chat, Universal Analytics and Google Analytics 4 etc, and instead of directly embedding all those codes into your web pages, you can simply install a single script for GTM then configure all those individual tags via GTM.
When new snippets of codes (new files) need to be added, you simply add them to into the container (filing cabinet) as needed.