Lead Form Asset for Search Campaign
You can set up a lead generation search campaign where searchers can fill up their details on a lead form hosted by Google. Lead forms help you generate leads by letting people submit their information in a form directly in your ad.
Benefits:
- Generate leads to drive sales for your business, product, or service.
- Drive leads into your marketing funnel to help get more conversions.
- Find and engage people interested in your business, product, or service.
Quick Navigation
1. Ad Group
2. Responsive Search Ad
3. Lead Form Extension
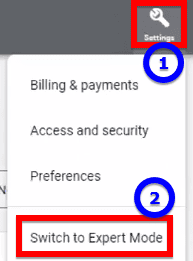
First of all, we need to make sure that we are in Expert Mode. If you are still in Smart Mode, please switch to Expert Mode.
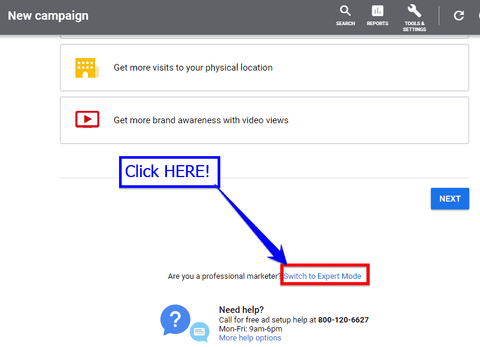
You need to find and click the link that says, 'Switch to Expert Mode'.
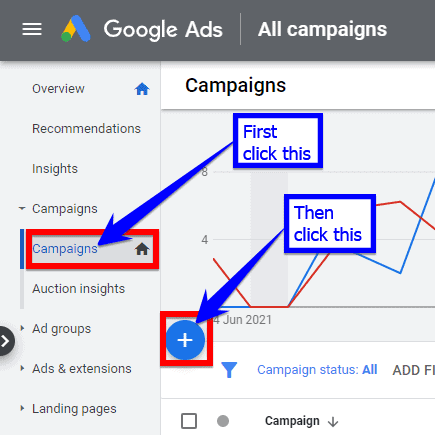
After successfully switching to Expert Mode, you can now create your campaign. Click ‘Campaigns’, then click the plus icon. This will also lead to the campaign setup flow.

To start a new campaign from scratch, click ‘New campaign’.
To utilise lead form submissions, select leads as a campaign objective.

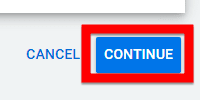
Then click ‘CONTINUE’.
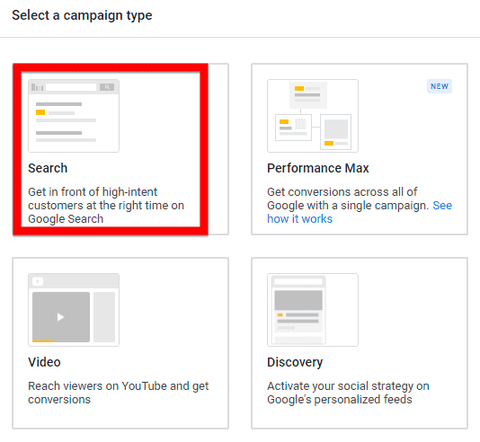
Select ‘Search’ as your campaign type.
When it comes to the ways of reaching your goal,

Select ‘Lead form submissions’ as the way to reach your goal.
It’s also good to know:
Name your campaign:

Then click ‘CONTINUE’.
Next, we set our budget…

Set an affordable daily budget for you e.g., $10. Keep in mind this is an average daily budget.
Using $10 as an example: On some days you may exceed $10, and sometimes it won’t reach $10. But if you count the whole month spending, the average will be $10 per day.
Next, we come to bidding…
By default, Google wants us to focus on ‘Conversions’. Maximise conversions bid strategy is great if your account already has relevant conversion data.
But when you are just starting out with no data, focusing on conversions can result in unnecessarily high cost per clicks.
That being the case, choose the ‘Maximise clicks’ bid strategy where you want to get the most clicks for your set budget and max CPC.
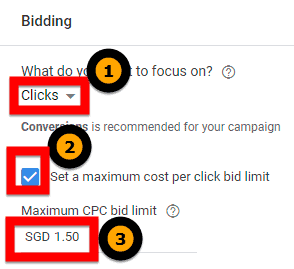
Focus on clicks and set a maximum cost per click (CPC) bid limit. In this illustration, just set the maximum CPC bid limit to $1.50. You should come back here and change the bid strategy to 'maximise conversions' after your campaign has accumulated significant conversion data.
Then comes Ad Rotation…

You can leave it as default which is ‘Optimise’. But I usually select ‘Do not optimise: Rotate ads indefinitely’ as I prefer to optimise the ads myself.
Next, is ‘Networks’…

Do not include Google search partners: Tell Google to only show your ads in the Google search engine result pages and NOT their partner sites.
Reason:
- We cannot see what search terms trigger our ads in their partner sites and therefore cannot make decisions based on data.
- The keyword matching options do not work in their partner sites. To keep our campaign tight, we can only do so in the Google SERPs and not their search partners.

Do not include Google Display Network: Tell Google to only show your ads in the Google Search Network and NOT in the Display Network.
Reason:
- The better performance and known benefits of the Google Search Network.
- I like to separate my Display from my Search campaigns so it’s easier to see which ones are more profitable and allocate the marketing budgets accordingly.
For ‘Locations’…
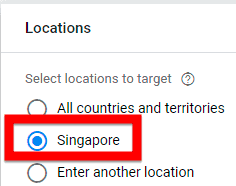
Choose Singapore.
Under location options,
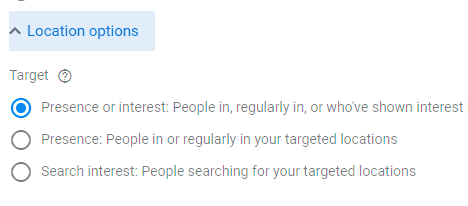
If you want to only target people living in Singapore, choose ‘Presence: People in or regularly in your targeted locations’. Otherwise, leave it as default.
For ‘Exclude’,
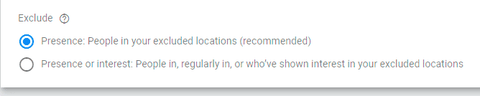
You can leave it as default.
For ‘Languages’,
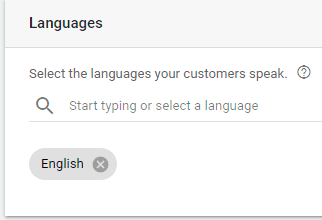
Select the language your customers speak e.g., English. I would not include multiple languages here and try to keep my campaigns segmented. (E.g., English, and Chinese campaigns are both separated). Then it becomes easier to see which target market responds better to your offer.
Next, we come to audience segments…
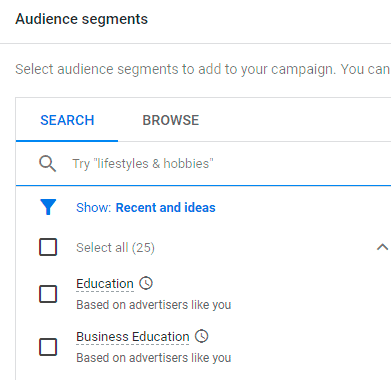
As a typical setup for a Search Ads campaign, you can ignore Audiences first and define it later.
Next up is the Dynamic Search Ads setting. We do NOT use this.
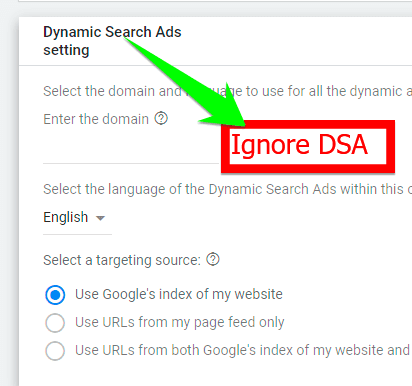
Dynamic Search Ads (DSA) target relevant searches automatically based on your website, then use headlines automatically customised to people's actual searches. This setting determines what domain, language and targeting source to use for your DSA. It is basically using Artificial Intelligence to help you create ads.
To create a DSA, you’ll need to create a dynamic ad group in the next step. We’ll skip this because we want full control over our ads.
You can specify a start and end date if do not want to exceed a predetermined date.
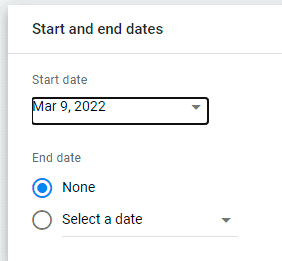
Otherwise, you do not need an end date.
Next is our Ad Scheduling…

We normally set this after we have statistically significant data on the hours that we are most likely to get conversions. For now, we can leave it as default.
Next is your tracking template…

The ‘Campaign URL options’ is useful if you’re using a third-party tracking system. Otherwise, you can forget this.
Create Ad Group
Next up is Ad group…

Type your ad group name.
To get keyword suggestions, you can enter a related web page URL.

Another option is to type in the product or service that you are dealing with. Alternatively, go to the Google Keyword Planner tool to get more detailed keyword data.
In this example, we type the website URL in the URL field.

Then click ‘GET KEYWORDS’.
You will see a list of keywords and some of them may not be relevant to your business.

Identify those irrelevant keywords and delete them.
Include the notations for the different keyword match types.

Broad match which is the default match type is not enclosed in any notations. Use double quotations (“”) for phrase match and square brackets ([]) for exact match.

At this point, you might want to add some negative keywords, such as '-free' and '-youtube'. Or you can add them later after your ad receives traffic.
Create Responsive Search Ad
Now comes to the ad creation. See also RSA Search Ad.

Enter the final URL: The URL that people reach after clicking your ad. It should match what your ad promotes. If you use a cross-domain redirect, enter it in a tracking template.
Enter your display path: This gives potential customers a clear idea of the web page that they'll reach once they've clicked your ad, so your path text should describe your ad's landing page.
Next up – your headlines.

You need at least 5 headlines to start running. Pay attention to character limit.

You can click ‘More ideas’ for more headline ideas.

After clicking ‘More ideas’, you can see more headline suggestions with top keywords. Pick those that you like to be used in your responsive search ad. Or you can get more tips in PPC copywriting tips.
Next, enter your descriptions.

Take note of the character limits.
You can see a preview of your ad on the right side.

If you are happy with it,

Click ‘NEXT’.
Then we come to Ad extensions.

Click ‘MORE EXTENSIONS’.
For lead form extensions,

Click ‘Lead form extensions’.

Click the plus button in blue. Take note that the Terms of service must be accepted before we can collect leads using a Google-hosted lead form.

Enter your Headline, Business name and Description for the lead form.
For questions…

I usually choose full name, phone number and email. You can add more questions and include other qualifying questions.
Enter the privacy policy URL. If you don’t have a privacy policy page, use www.pdpc.gov.sg/.


The ‘Create form submission message’ is pre-filled for you. For Call-to-action, you can type a link that people will see after filling up your lead form or choose ‘None’ to keep it simple.
Select a call to action for your ad.

Select a compelling call to action that empowers people to engage with your business or service.

The lead delivery option and lead form type can be left at default.

You can preview how your lead form looks like when clicked.

And how it looks like when attached as an extension to your ad.
When visitors submit their details, you will be able to download leads that've been collected within the last 30 days. Since a lead may take longer than 30 days to become a paying customer, it is a good idea to use a customer relationship management (CRM) software to stay connected to your leads until they eventually become your customers.
If you are happy with it,

Click ‘SAVE’.

Then click ‘NEXT’.
Time to review your campaign.

Double-check your details before you publish.
If everything is good,
Click ‘PUBLISH CAMPAIGN’. To optimise your campaigns, please regularly go through your Search Terms Report for new keyword ideas and adding more negative keywords.